Getting started with Firefox OS
Book of FoxChapter10 ▼
Build your own Firefox OS
Firefox OS is open source so you can build it yourself. In fact, at the time of writing it's really hard to get access to a phone with preinstalled OS so you might have to do it even if you're not especially ecstatic about it.
You can build the OS and install it on many phones that support Android 4. In this chapter you'll see a walk-through building for two phones - Nexus S 4G and Galaxy Nexus.
Support tiers
The Firefox OS prerequisites page (https://developer.mozilla.org/en-US/docs/Mozilla/Firefox_OS/Firefox_OS_build_prerequisites) list a number of supported phones grouped into tiers. Tier 1 is the most supported one with phones such as Keon, Unagi, Inagi and so on, which are the hardest to find.
Tier 2 includes Nexus S and Nexus S 4g by Samsung. Tier 2 means not everything is actively tested. If you can get hold of one of these phones, that would be preferable to tier 3. Tier 3 is Galaxy S2 and Galaxy Nexus. These phones have on-screen home button which is not supported by Firefox OS. This means that, unfortunately you can't close an app once it's open. However toward the end of the chapter you'll see a hack that helps with this problem.
This chapter walks you through building and installing on one Tier 2 phone and one Tier 3.
Your development OS
You can develop apps and hack on Gaia using any type of computer OS for your development. However for building the Firefox OS it's highly recommended that you use Linux and more specifically Ubuntu 12.04. (Theoretically you can build on a Mac as well, but be aware that the author has spent a significant hours failing to do so.)
The good news is that Ubuntu is free. It's Linux-based free operating system and the recommended 12.04 is the latest of the stable 12 branch which is guaranteed to be supported until 2017.
If you're already running this OS, great news. If you're not, it's best if you find a Windows machine and install Ubuntu on it, either replacing Windows or together with it.
In this chapter let's assume you've never seen Ubuntu before. If you have, feel free to skip the more trivial parts.
Install Ubuntu
The process is simple - download the OS, burn it to a CD and install it - but each of these steps can take a while.
Start by visiting http://www.ubuntu.com/download/desktop. What you need to download is Ubuntu 12.04, 64-bit.
Burn the ISO image file you downloaded to a CD. On a Mac use the built-in "Disk Utility". Windows also has a built-in "Disc Image Burner" program.
Put the CD in the disk player of the machine that you'll use for building Firefox OS and start the computer.
Follow the instructions to install Ubuntu 12.04.

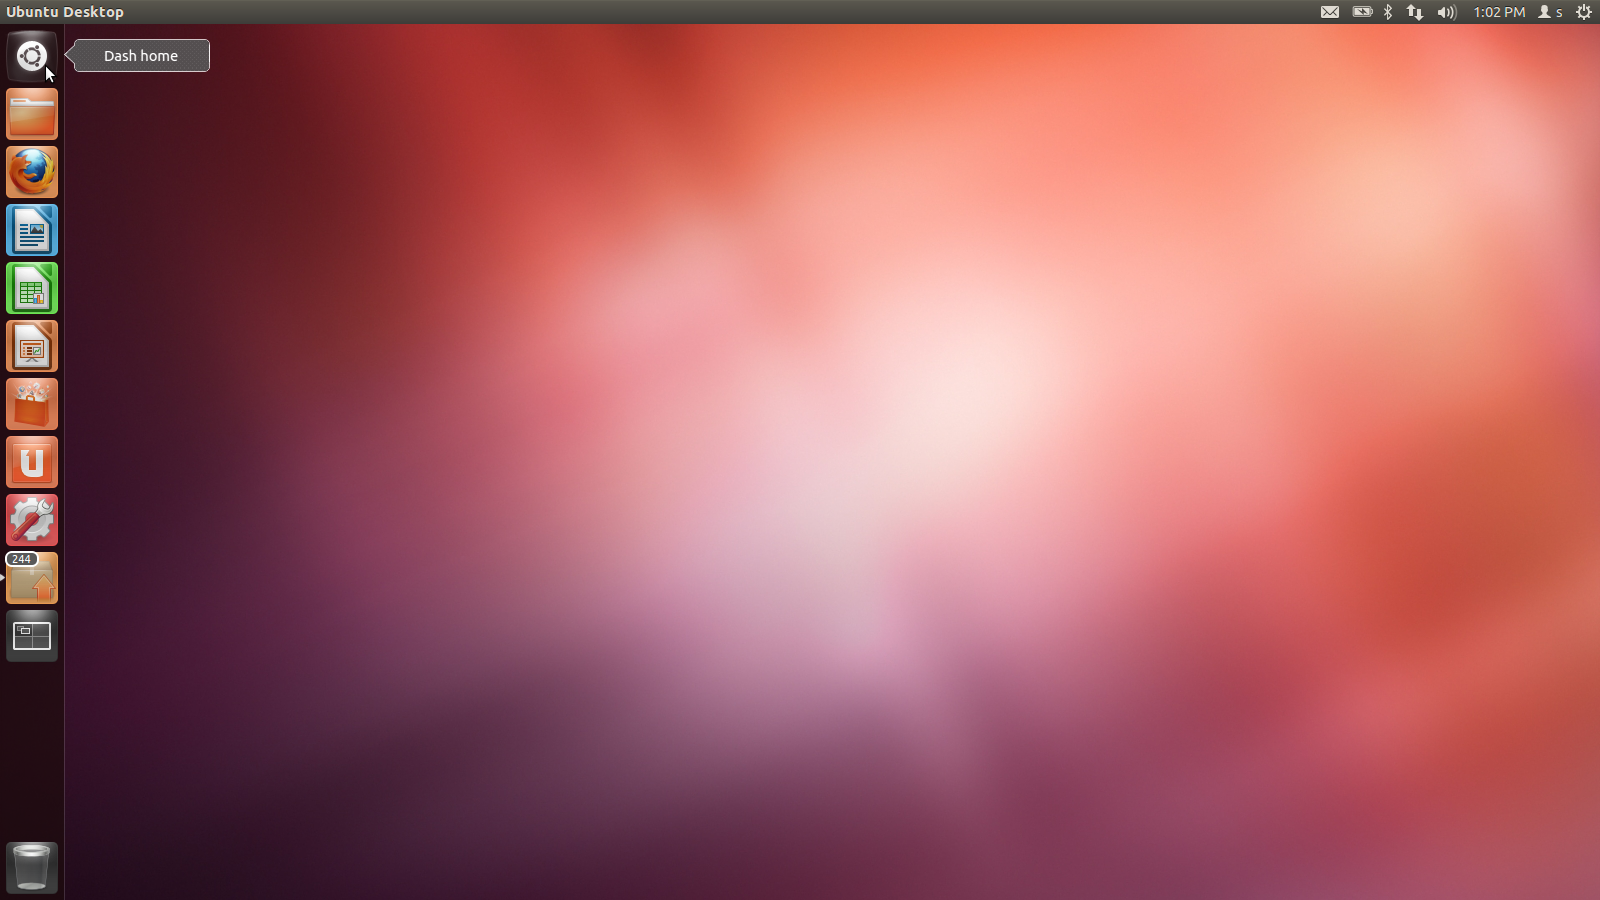
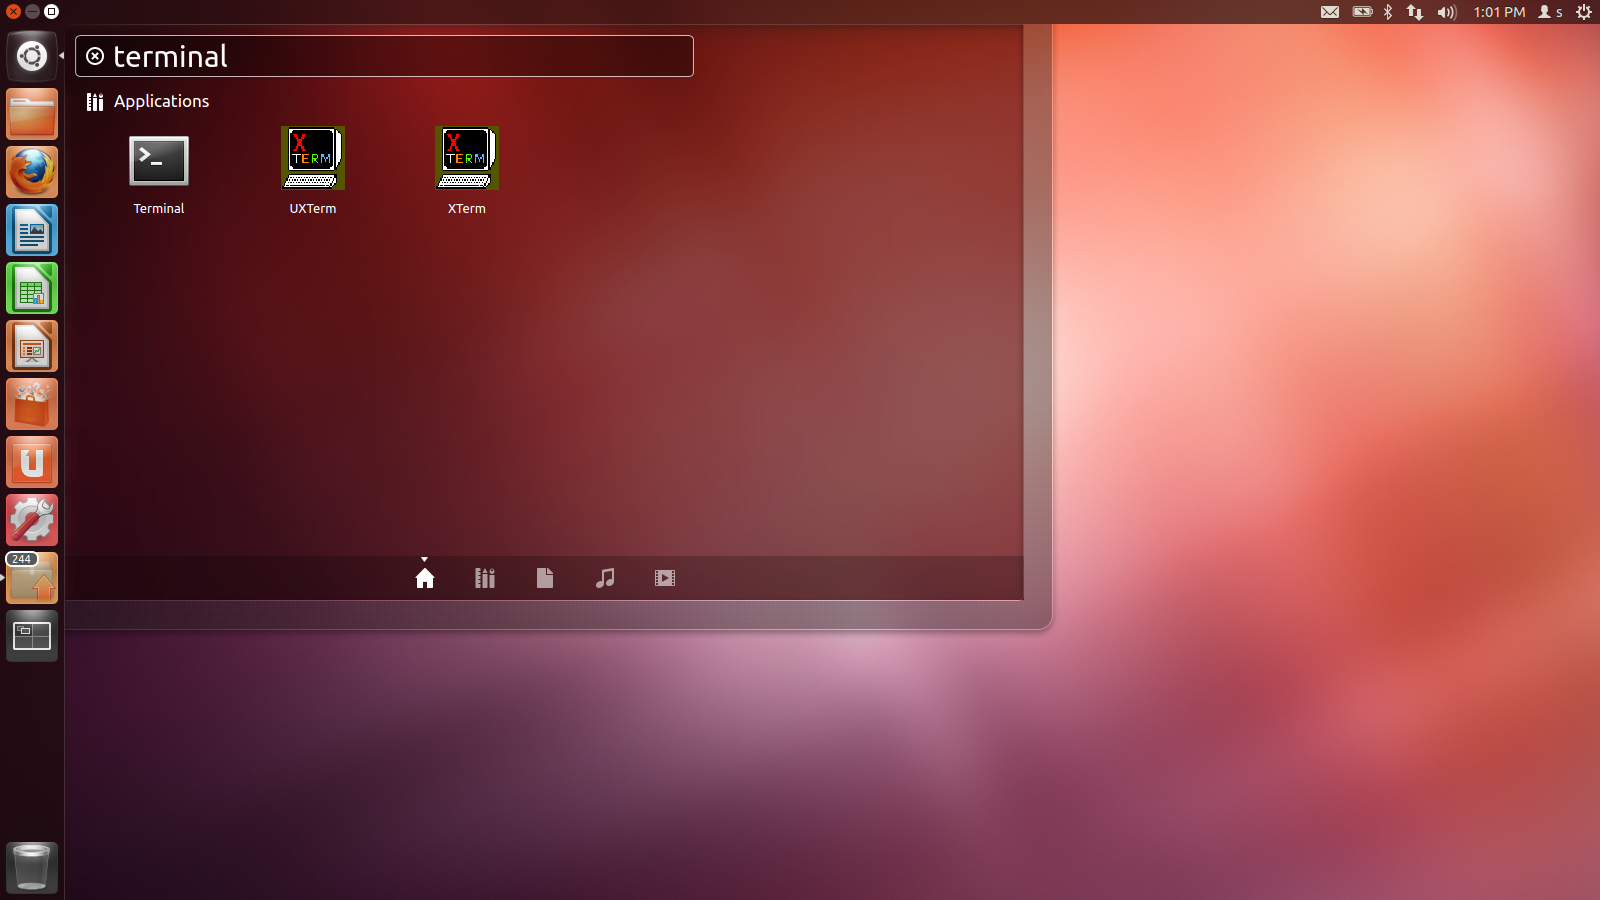
Most of the work you'll do is on the console, so why not make it handy. Click "Dash Home" on the upper left corner, type "Terminal" in the search box.

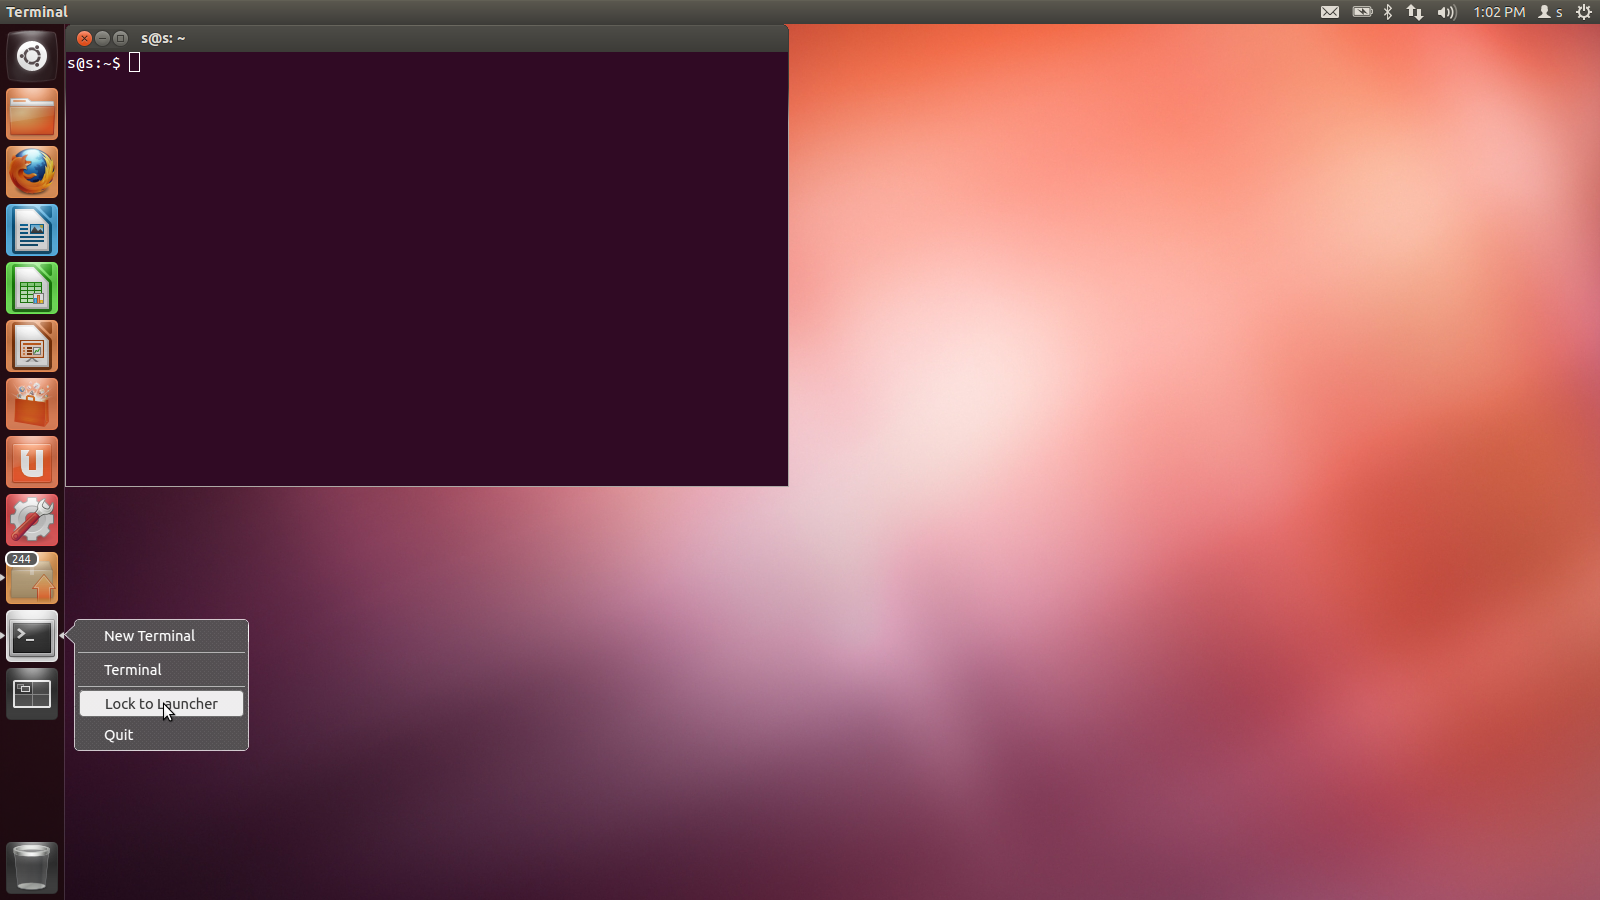
CLick the terminal icon. The console appears and also an icon on the left hand side. Right click the icon and select "Lock to Launcher" so the app it's always handy.

Setup pre-requisites
Now that you have a new shiny Ubuntu machine, it's time to install the tools that the Firefox OS needs.
https://developer.mozilla.org/en-US/docs/Mozilla/Firefox_OS/Firefox_OS_build_prerequisites lists the tools and libraries you need in order to build Firefox OS. You start with:
sudo apt-get install autoconf2.13 bison bzip2 ccache curl flex gawk
gcc g++ g++-multilib git ia32-libs lib32ncurses5-dev lib32z1-dev
libgl1-mesa-dev libx11-dev make zip
However not all of the tools may install successfully, so you'll need to follow error messages that descibe missing dependencies and specify desired versions of those packages.
Finally, run:
$ ccache --max-size 3GB
Install Java
sudo add-apt-repository ppa:webupd8team/java
sudo apt-get update
sudo apt-get install oracle-java7-installer
check:
java -version
Install adb
Download ADT bundle
It will open in the Archive Manager UI which you use to unzip the package to, say ~/Downloads
Rename and move the folder so it's easier to type
mv ~/Do....
Now you can run the ADB utility like:
$ ~/adt/sdk/platform-tools/adb
You can make it more convenient by typing:
$ PATH=~/adt/sdk/platform-tools:$PATH
Now try:
$ adb devices
You'll get an empty list of devices. Now you need to make sure your device shows up in this list.
Connecting to the Nexus S 4G
On the phone find the Settings app, scroll all the way down, go Developer options and tap the ON/OFF toggle at the top. Say OK to the scary warning.
[[[[image]]]]
Enable USB debugging too.
On the Linux machine you need to setup a udev rule. First you create a new file using the nano (or vi) text utility:
$ nano /etc/udev/rules.d/android.rules
Paste this line:
SUBSYSTEM=="usb", ATTR{idVendor}=="18d1", MODE="0666", GROUP="plugdev"
CTRL+X to save the file. Then set the permissions:
$ sudo chmod a+r /etc/udev/rules.d/android.rules
Finally, test that it all worked out:
$ adb devices
Fetching and building B2G
Get the code from github:
cd ~/
git clone git://github.com/mozilla-b2g/B2G.git
cd B2G
Configure the code for the Nexus S 4G phone.
$ ./config.sh nexus-s-4g
If you're building for a different phone, you can see the list of supported devices with:
$ ./config.sh
Now take a break, this is a long process that downloads and sets up a lot of code and utilities (several GBs worth).
Next step is to run the build using:
$ ./build.sh
Finally copy all the code on the phone and replace the Android with Firefox OS:
$ ./flash.sh
You'll get a message if you agree to "Unlock bootloader?". Say Yes by pressing the Volume button up and then Power button to continue.
Give it a little bit of time and soon enough you'll be greeted with the setup screen.
[[[image]]]
Note that because of the different screen resolution everything may look smaller. This appears to be a CSS media query issue related to "retina" display and will be solved eventually. But that's why this phone is considered Tier 2 when it comes to supporting the latest builds. At least now you have your own device running Firefox OS and you can start playing with it.
[[[image]]]
Building and installing on Galaxy Nexus
Another phone you can use to experiment is Samsung Galaxy Nexus. It's a Tier 3 device, meaning it may behave worse than The Nexus S. But you can still use it to test the real OS on a real device.
Indeed, Galaxy Nexus doesn't have a working hardware Home button which makes testing really difficult, as you can only open a single app and cannot close it. However, there's a workaround including you hacking the Gaia UI. You'll see how in a moment. Let's get started flashing the Galaxy Nexus.
Start by connecting the device with the USB cable. Setup the developer options as described above. Run adb devices to make sure you have access to the phone.
Configure, build, flash:
$ cd ~/B2G
$ ./config.sh galaxy-nexus
$ ./build.sh
$ ./flash.sh
And voila! You now have a Firefox OS running on Galaxy Nexus.
The absence of a working Home button prevents from taking a screenshot, so a picture will have to do. As you can see the icons are even smaller of the bigger screen.
Hacking on Gaia
After you're done building and flashing, you can see that you already have a copy of Gaia inside your B2G directory, e.g.
$ ls ~/B2G/gaia/apps/browser
You can edit the files in the gaia directory and flash only the Gaia part to the phone. Let's give it a quick try by changing a simple text.
-
Click Home Folder icon on your Ubuntu desktop
-
Navigate to folder B2G/gaia/apps/browser/locales
-
Double-click the file
browser.en-US.propertieswhich contains the English texts -
Change something, for example the text for the property called
enter-search-or-address.placeholder -
Go back to the Terminal, make sure the phone is connected and type
$ cd ~/B2G
$ ./flash.sh gaia
This only copies the Gaia part of the OS, not the whole thing. You'll see some messages flying by and then your phone will restart. Then you can see the effect of your changes:
[[[browser]]]
And only Gaia
At this point you're done with building the Firefox OS (B2G) and installing it on an Android phone. From now on you can use this phone for regular application testing (with the B2G2R2D2 extension) or Gaia hacking.
For Gaia hacking, you can review the previous chapter. You can go back to your regular development environment (assuming you installed Ubuntu just for building the OS and your regular development is on a different machine)
If you want to copy your modified version of Gaia you no longer need to use flash.sh, you can navigate to your Gaia directory and run make install-gaia.
Closing apps on Galaxy Nexus
As you've already seen while playing on Galaxy Nexus, you can't close apps because the Home button doesn't work. Here's a little hack you can use to add the ability to close apps from the sleep menu.
The sleep menu appears when you press and hold the power button. Let's add another option in this menu. Let's assume you're still on the Ubuntu desktop you used to build B2G. Note however that all you need is Gaia.
First, choose Home Folder on the desktop and navigate to B2G/gaia/apps/system. Find the file sleep_menu.js and double click. It opens in the built-in text editor.
Find the function generateItems(). Before it returns, you need to add another item to the items array:
items.push({label: 'home', value: 'goHome'});
This adds the new menu item. Now you need to handle clicks (taps) on this menu option. Find the function handler(). It's one big switch statement. Add another case at the end of that switch statement.
case 'goHome':
  var current_app = WindowManager.getDisplayedApp();
  if (current_app) {
    WindowManager.kill(current_app);
  }
  break;
Save the file and push the changes to the phone:
$ cd ~/B2G/gaia
$ make install-gaia
The result when you start an app and then press and hold the Power button:
[[[screenshto]]]
Tap "home" and the application closes.
Now you've significantly improved your Firefox OS testing experience on Galaxy Nexus.